Ally is a Moodle plugin that scans and evaluates Moodle content for accessibility issues, suggesting improvements, and providing alternative formats for uploaded files. Each activated course has access to an Ally overview dashboard that lists all issues, in order from most serious to least, with helpful suggestions of how to resolve those issues. Ally will scan the text and files in your Moodle course and look for:
- Improperly applied headers in text and tables to aid with screen readers
- Color contrast issues for those with color blindness
- Scanned text documents that appear as images (ie, text is not selectable or able to be read by a screen reader)
- Missing image descriptions
- Videos without subtitles
- Links with missing text
- Note: Linked Google documents are NOT scanned
Additionally, Ally will examine uploads to the site, pointing out potential issues, and providing the option for students to download alternative formats to the file, including:
- HTML
- ePub
- Tagged PDF
- Electronic braille
- Audio
- OCR’ed PDF (screen readable)
- Immersive reader
- Translations
In order for Ally to be visible in a course, it must have its corresponding filter turned on. Currently, all courses have this turned on automatically as default. If, for some reason, you wish to turn it off for a course, or it had been turned off and you wish to turn it back on, you must do this in your course filter settings.
Turning the Ally filter on or off
In order to display Ally alternative formats and (for teachers) evaluation of uploaded course materials and text in your course, the Ally filter in your course settings must be on. To change this setting, click on the More menu item to expand it, and select Filters from the drop-down list.

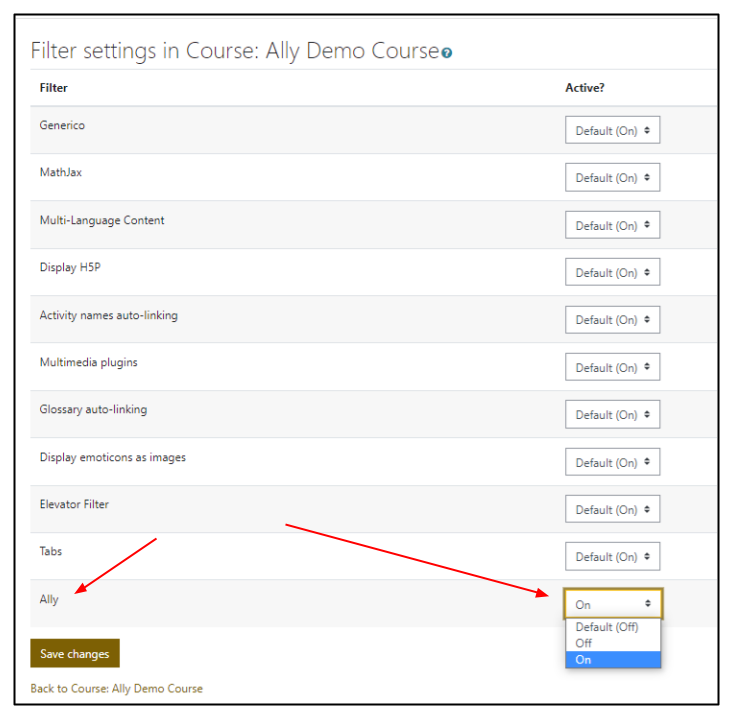
On the Filters page that opens, scroll down to the Ally option and click on the drop-down menu on the right side and choose from the options (Default/On, Off, On) and click Save changes.
The page will refresh and a message, highlighted in blue, will appear at the top of the screen indicating that your changes have been saved. At this point you can return to your course main page using the menu options from the left side menu or the breadcrumb links listed at the top of the page underneath the course title. After turning the filter on, it may take a few minutes before Ally icons begin to appear to the right of the titles of your files, but refreshing or reloading the pages after a minute or two should result in the icons showing.
In addition to the Ally icons next to uploaded files, such as PDFs, PPTs, and DOCXs, you will also see ratings when you edit text in Moodle (in things like Labels, Pages, and Descriptions of resources) where the Ally icons will appear.
For more information on working with Ally, see the Knowledge Base articles on the Ally Accessibility Report and Working on Viewing Ally Report for a File and Resolving Issues.