The Panopto connection to Moodle allows for instructors to create an assignment that prompts students to create a Panopto video, or to choose one from their Panopto video folders. Creating the activity is straightforward, but requires a one-time setup in order to function successfully.
Setting up your course
The first thing that needs to be done in order to use Panopto Student Submissions is to officially provision your course with Panopto. Due to the differing nature of the Panopto folder (which is added by default to all new template courses) and the Panopto block, the block needs to be activated and the course provisioned from there - even if a course folder has already been created by clicking on the Panopto folder icon. Once this has been done, the block can be deleted, if desired.
Adding the Panopto block and provisioning
To begin, turn editing on for your course.

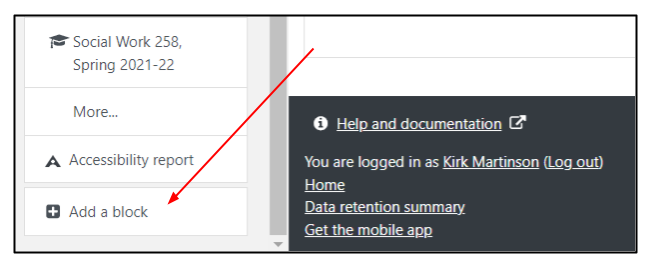
Scroll down to the bottom of the left side menu and click on Add a block.
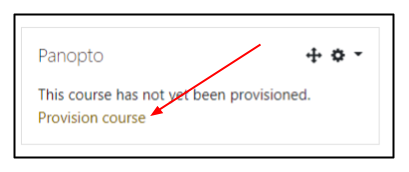
From the menu, choose Panopto. Once the Panopto block appears on the right side of your course (or the bottom, if your screen has been made narrow), click on Provision course.
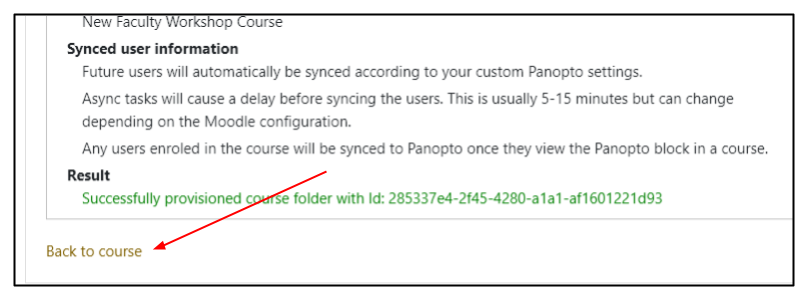
You will be shown a message stating that the course has been provisioned. Click on the Return to course link to move back to your course home page.
Removing the Panopto block (optional)
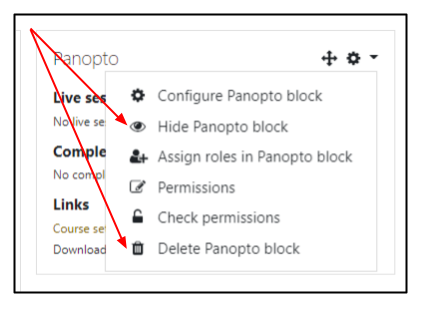
If you do not wish to have the Panopto block appear on the right side of your course page, you may either delete or hide it.
With course editing still on, click on the down arrow next to the settings wheel in the upper right of the Panopto block.
Choose either Delete Panopto block or Hide Panopto block. The activity will function regardless of which option you choose.
Adding the Panopto student submission activity
To insert the activity, scroll to the appropriate section or tile, and choose Add activity or resource and choose Panopto Student Submission from the activies and resources list.

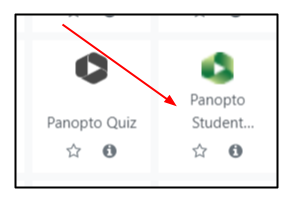
Give the activity a Name and, optionally, a Description and set any of the applicable Moodle activity settings, such as submission window, grade options, and access restrictions, and save the activity.
Student activity view
To view the steps students see when completing the assignment, see the Submitting a Panopto Student Submission Video Assignment article.
Grading Panopto Student Submissions
After creating the assignment, when you click on the assignment, you will see the name and description of the assignment and the number of videos that have been submitted.
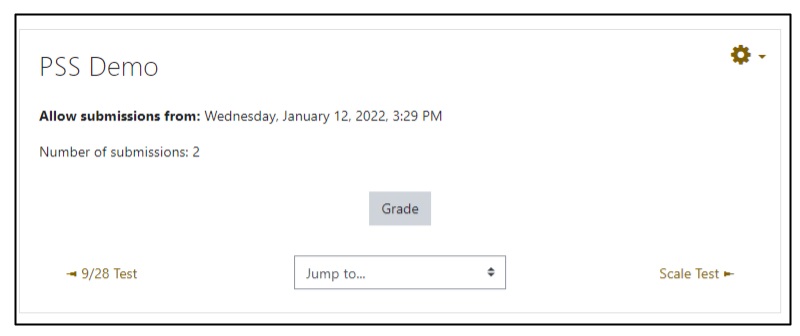
Clicking on the Grade button will take you a list of participants, showing which ones have submitted a video, and whether they have been graded or not. Clicking on the Grade button next to a participant's name will open a grading page to view the recording.

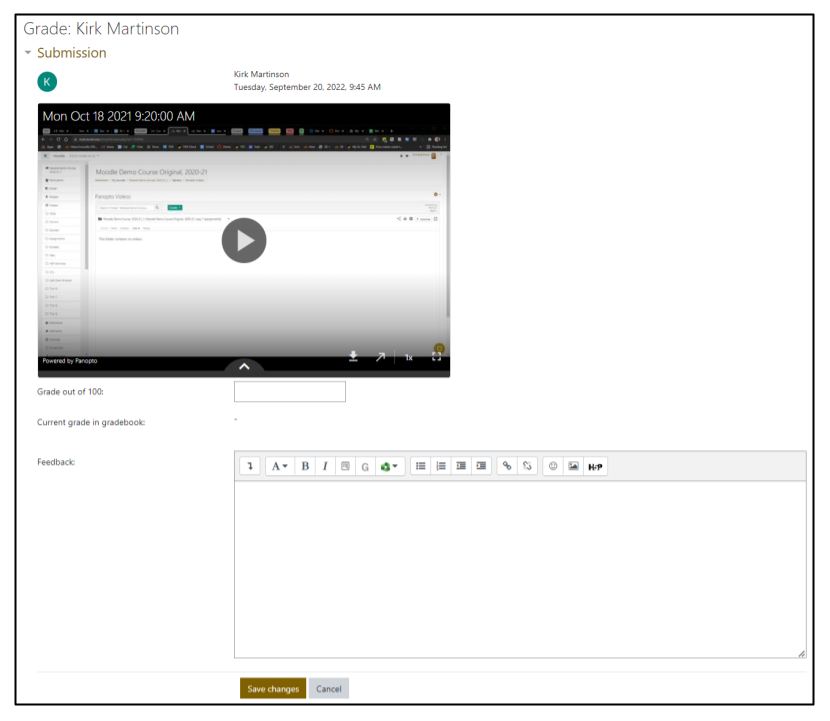
On the grading page you can view the recording and enter the grade for the submission and leave optional Feedback in the text editor below the video. Once you have entered the grade and optional feedback, click on Save changes to return to the list of participants to continue grading.
