In order to create an ArcGIS Online Collections - a Group is required. For more information on how to request a Group, see ArcGIS Online Groups.
ArcGIS Collections have a few steps to set up, but they are very easy to manage. Instead of creating the Collection in the standard St. Olaf ArcGIS site, go to ArcGIS Story Maps and log into your account. This is slightly different from the main St. Olaf ArcGIS Online site, but the log-in process is exactly the same.
Start a Collection
After logging into the site, click on the Collections tab in the left menu.
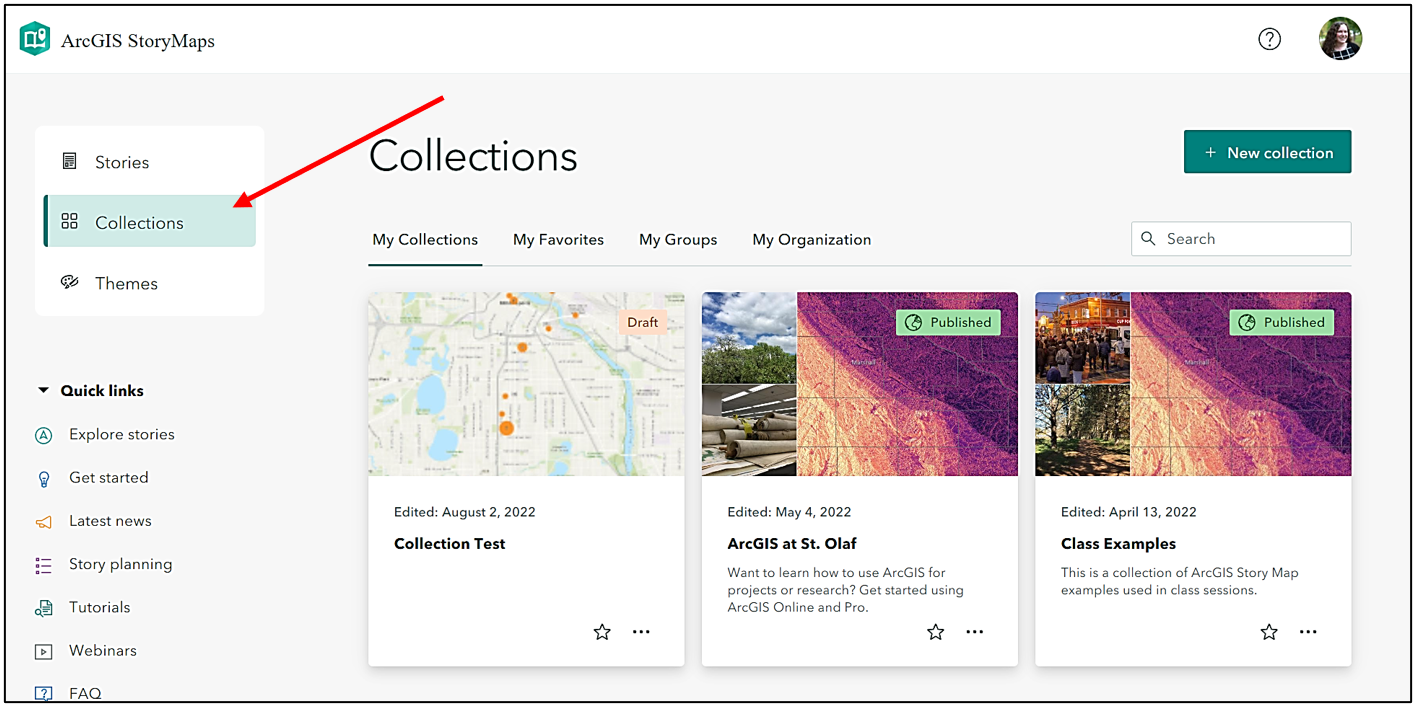
All the collections that you have created or have access to will appear on the dashboard.
To start a new Collection, click on the green + New collection on the top right.

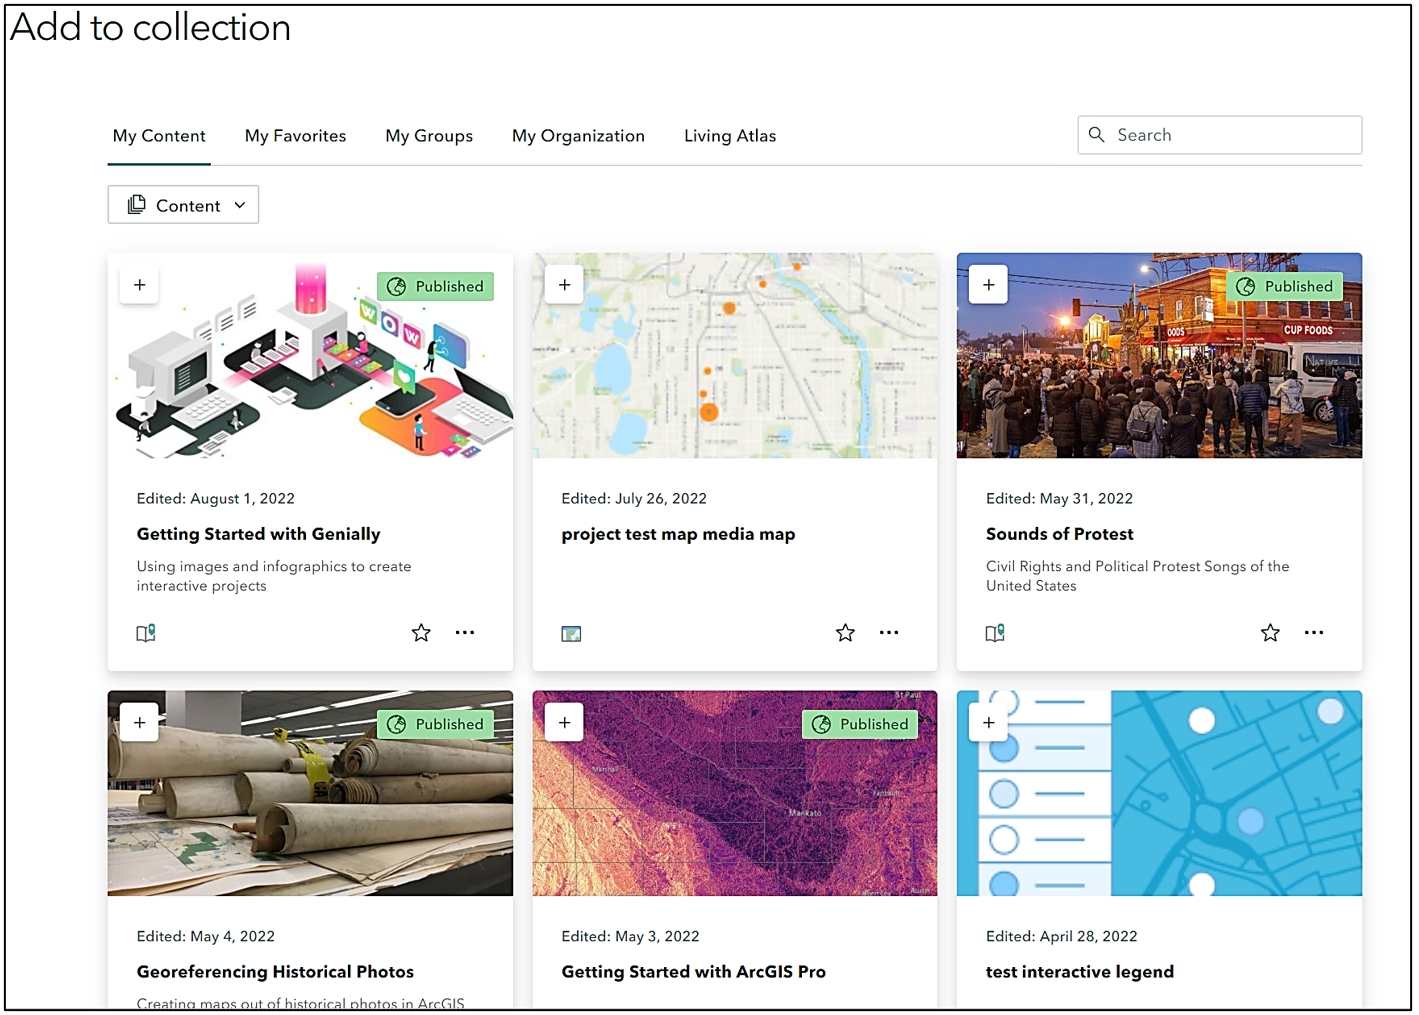
There are a variety of materials that can be added to the collection: Images, Videos, Embedded Content, PDF, and ArcGIS Content (maps, Story Maps, etc.). To start adding content, click on Add to collection > select ArcGIS content.

Add any content from your ArcGIS Online account to the collection.
Creating a Class Collection
To create a collection for a whole class, there are a couple of steps to make sure that the project shows up in the correct location.
Request a collaborative ArcGIS Online Group.
After creating content, students in the class need to share the materials to the course Group. If the collection needs to be public, then all content needs to be set to public visibility. Otherwise it may appear as if links are broken or users will be prompted to log in.
To add content to the Collection - click on the My Groups option, and select on the Group dropdown on the right. Select the correct Group.

Click on all the materials that should be added to the Collection.
