H5P provides a straightforward interface to create a wide array of interactive web content, and is integrated directly into Moodle. H5P content is created in a slightly different way than other Moodle activities, in that it must first be created in the H5P content area, and once it has been created can then be used in Moodle in a variety of different contexts (i.e. as a stand-alone activity, as part of another activity, placed in a label or page, or even submitted by a student as an assignment or part of a forum). The following instructions will detail how to access the creation interface, and how to access and utilize the content once it is completed. Instructions for creation of each type can be found at H5P.org or in the Knowledge Base.
Creating New H5P Content in Moodle
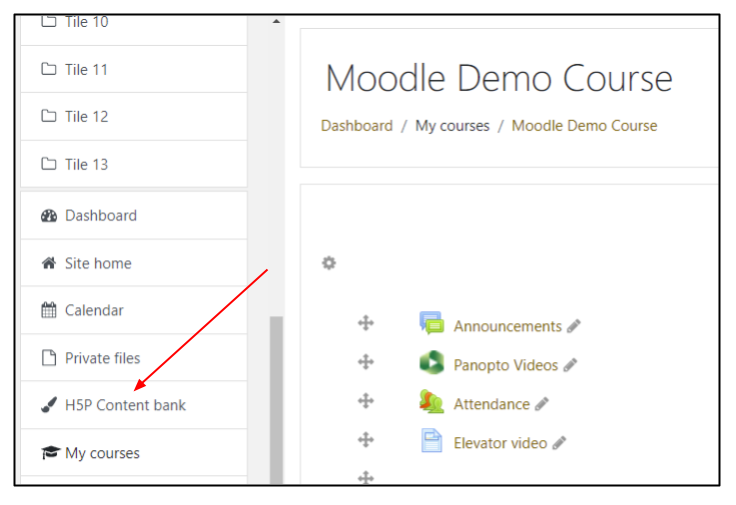
New H5P content is created from the H5P Content bank within Moodle. While possible to access the Content bank from an editing interface showing repositories, the most direct way to get to the Content bank is from the left-side Moodle menu. In the main side navigation menu, scroll down past the course-specific items to the system-wide buttons (starting with Dashboard, Site home...). Beneath Private files and above My courses, you will find the link to the H5P Content bank.
The H5P Content bank page will list all H5P content created, uploaded, or copied into the specific course. While you may see content created by other users, only teachers have the ability to edit or delete content that was not created by them. Above the list of content is a Search box, and to the tight side, buttons to Add content or Upload content created in another course, or on the H5P site itself and previously downloaded.
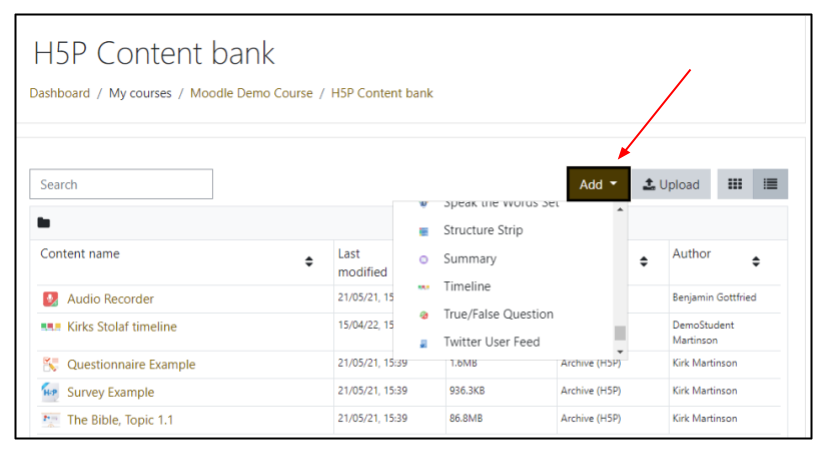
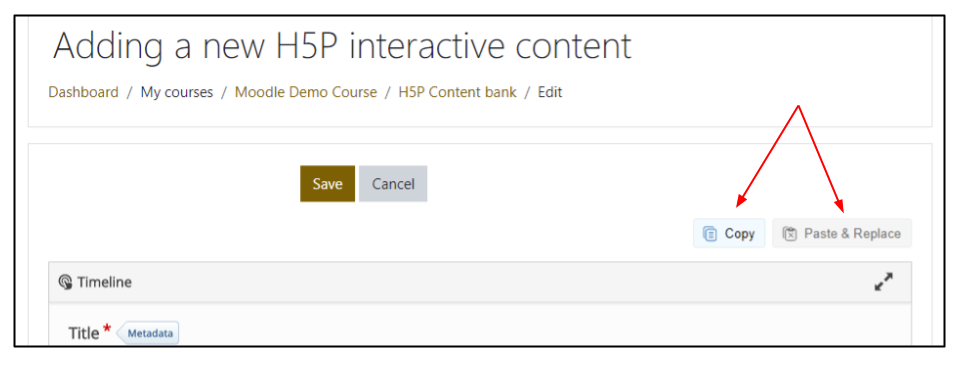
Clicking on Add will display a drop-down list of all the available H5P content types. Clicking on any of these will open up the creation page for that type. Each content type will have a slightly different set of input fields to fill out, but all will have Copy and Paste & Replace buttons in the upper right, which allows you to copy one H5P content object and create a duplicate that you can use as a starting point to modify. Also, each content type will require a Title which does not appear anywhere to the viewer, but is used to identify the content in lists and searching.You can click on the Save button at any point to save your work up to that point and return to add or modify the content later.
Editing, Renaming or Deleting Content
To further edit content, click on the icon or name of the content and then click on the Edit button in the upper right corner to continue working on it. (The Edit button will not be available for content you do not have editing access to.) After clicking on content, you will also be able to click on the settings wheel in the far upper right corner to either Rename or Delete the content.

Using H5P Content After Creation
After creating H5P content in the H5P Content bank, it will be available in the H5P content bank repository that can be accessed anywhere you can add text, as well as when you add an H5P activity. An example of how to accomplish each of these is included below.
Creating an H5P Activity
If you wish to add H5P content that will collect responses and add a grade to the gradebook, then you should Add an activity or resource and choose H5P from the list. On the H5P activity page, you'll find the standard Name and Description fields to title and describe your activity, and you will select your H5P content in the Package file field below. At the top of that window, click on the page icon to open the File picker.

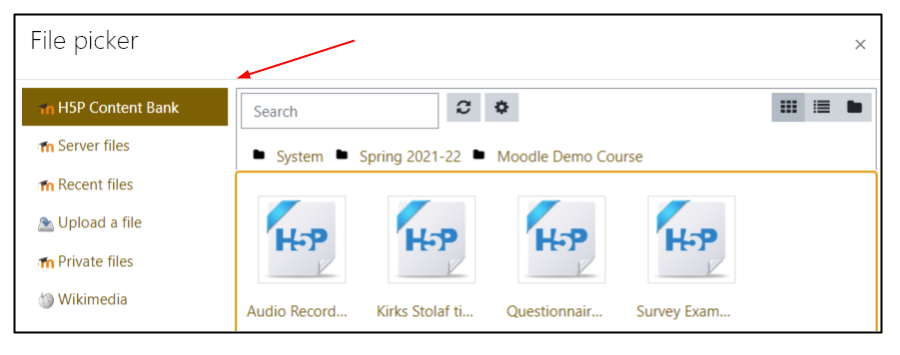
On the left side of the File picker window, click on H5P Content bank to display the available H5P content for this course. Click on the icon or the name of the desired H5P content to open a pop-up window.
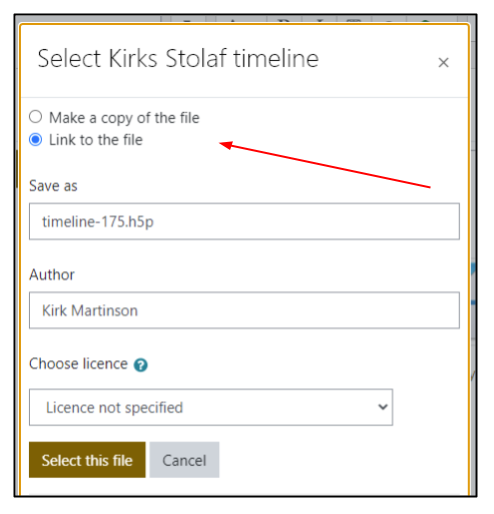
In this window you will choose whether to link to the file, or create a copy of it. If you wish the data and answers collected for this content to be separate from other instances in the course, choose Make a copy of the file. If you will only have one copy, or there is no reason to separate this instance from any other, then you can simply Link to the file. Click Select this file and then make any other adjustments to the activity course settings and save the activity.
Adding H5P Content in the Text Editor
H5P content can be added anywhere in Moodle where you are shown the text editor, such as Labels, Pages, Forums and in the Directions of other activities. Follow the steps below to insert your H5P content.
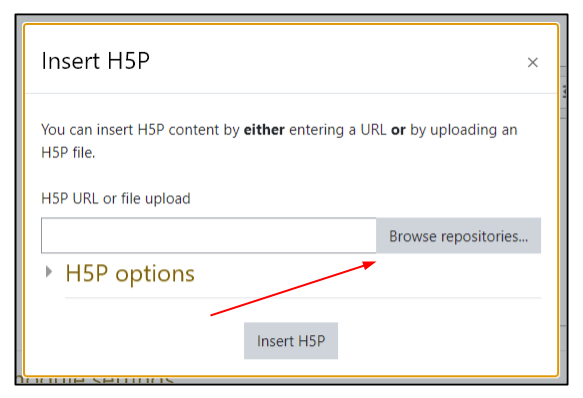
From the text editor, click on the H5P icon at the far right side of the top of the editor menu.

Click on the Browse repositories... button to open the File picker.
From the left-side menu of the File picker, select H5P Content bank, and click on the H5P content you wish to insert.
In the pop-up window you will choose whether to link to the file, or create a copy of it. If you wish the data and answers collected for this content to be separate from other instances in the course, choose Make a copy of the file. If you will only have one copy, or there is no reason to separate this instance from any other, then you can simply Link to the file. Click Select this file to return to the Insert H5P dialog. Here you can expand H5P options, and choose whether to Allow download for others, add an Embed button, allowing others to link to your content, or add a Copyright button. When you are finished checking options, select Insert H5P. The content may not immediately appear in the WYSIWYG window, instead showing as a gray H5P block, but it will appear once you save the page containing the editor.