When adding audio to Moodle, it is recommended to store audio files in Google Drive and link or embed these items to Moodle. This will keep the size of the course small and improve the user experience when the page is loading.
There are two options for adding audio to Moodle:
- Use a share link to add audio as a hyperlink
- Embed an audio into Moodle - users can listen to the sound directly from Moodle.

It is not recommended to upload audio to Moodle directly. Adding audio files directly to Moodle will increase the size of the course and may be difficult for participants to access if they are viewing the page on a mobile device.
Adding Audio to Moodle as a Hyperlink
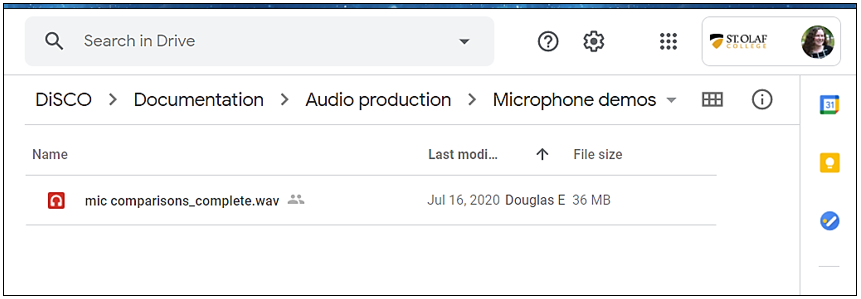
Locate the file in Google Drive that you wish to share in Moodle. If the file is not in Google Drive, make sure to upload the file to your Google Drive or a Shared Drive.
After clicking on the file to open it, select the 3 dots on the top right corner and choose Open in new window.

Google Drive will open the audio into a new tab. Click on the 3 dots on the top right corner once more and select Share.

Update the share settings for the audio - for sharing in Moodle, the file should be set for St. Olaf only or Anyone with the link.
Click Copy link to copy the URL.
In Moodle, in the Add an activity or resource window click on the Resources tab and select URL.

In the General section, copy and paste the share link into the External URL field.

Click Save and return to course.

Embedding Audio in Moodle
To embed audio in Moodle, click on Embed item...

In the Embed item window, copy all of the code in the box.

Return to Moodle, and in the Add an activity or resource window - click on the Resources tab and select the Label activity.

Click on the arrow on the top left to expand the toolbar options - after selecting the HTML button, paste the code from Google Drive into the box.

Click on the HTML button one more time after adding the code.

Click Save and return to course.
Adjust the border on embedded items
If you would like to reduce the gray border area around the audio embed, click on the HTML button again to turn the code view back on.
In the section for width and height, adjust the numbers to reduce the size of the gray border. Make sure to not reduce the size too much as this could potentially cut off or distort the image. A good size recommendation may be:

After updating the amount, click on the HTML button to see the change.

This process will also work for adjusting the size of videos.
Questions for Adding Audio to Moodle
For any additional questions for adding audio to Moodle, please contact the IT Helpdesk and the Moodle team will reach out.